Pear Tart

OLYMPUS DIGITAL CAMERA

Hello everyone! I just got back from vacation in Asia, where I basically ate non stop. However, this post isn’t about that haha. This is a recipe for a pear tart I made recently for people at work. There was a recent stretch where I was making a dessert a week for my colleagues, but that has stopped for now due to mounting expenses haha. I got the recipe from here and followed it pretty closely. The only thing that differed was how I laid out and designed my pears. This was my first try and overall it was a huge success!

Ingredients:

  • 3 tbsp butter, softened
  • 1/2 cup sugar
  • 3/4 tsp ground cinnamon
  • 3/4 cup  flour
  • 1/3 cup finely chopped walnuts
  • 1 package (8 oz) reduced-fat cream cheese
  • 1/4 cup plus 1 tsp sugar, divided
  • 1 large egg
  • 1 tsp vanilla extract
  • 4 Red pears, thinly sliced
  • 1/4 tsp ground cinnamon

OLYMPUS DIGITAL CAMERA

Directions:

  • Preheat oven to 425º
  • In a bowl, beat butter, sugar, and cinnamon together until crumbly.
  • Beat in flour and walnuts into the mixture
  • Press into 9″ tart pan coated with cooking spray
  • For filling: beat cream cheese and 1/4 cup sugar until smooth, then beat in the egg and vanilla
  • Spread over the crust and arrange sliced pears
  • Mix sugar and cinnamon together and sprinkle over the tart
  • Bake 10 minutes, then reduce oven to 350º and bake another ~20 min
  • Let cool and refrigerate before eating
Seared Scallops with Lemon Glaze

DSC_2067

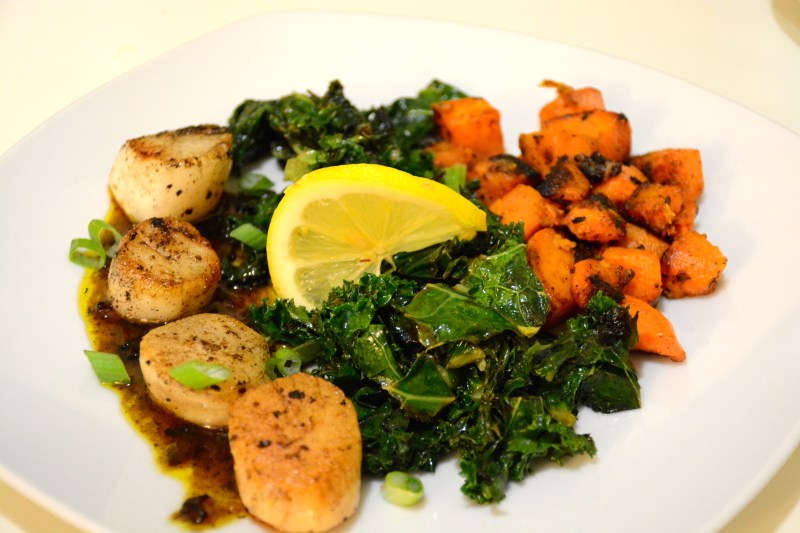
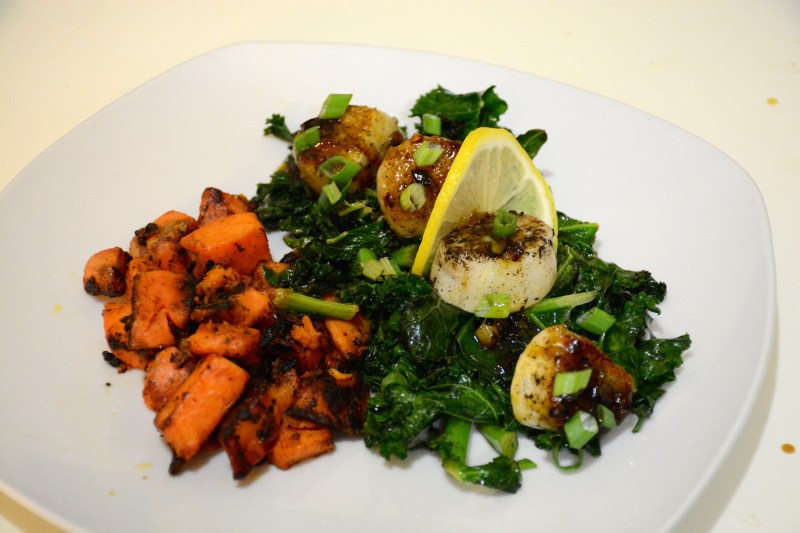
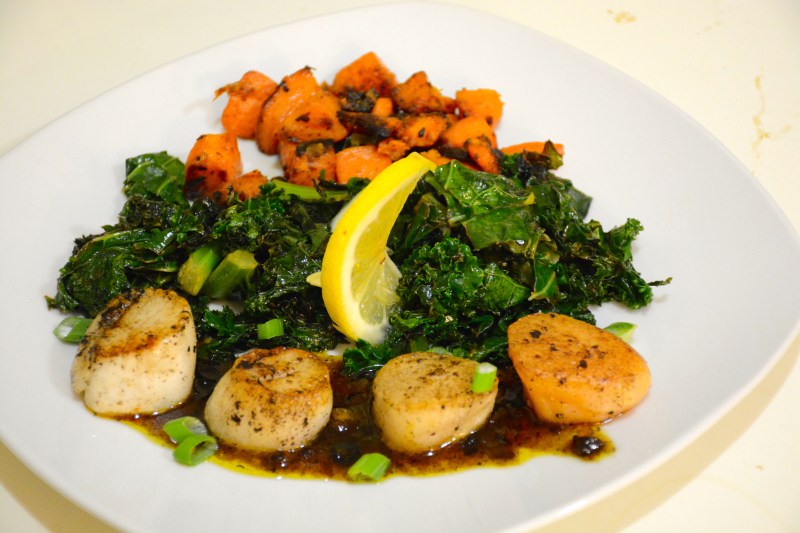
Hi everyone. As you know I have been cooking a lot with sous vide immersion cooker. Things that were normally harder to cook have all of a sudden become a whole lot easier (this is not a plug for one I swear). One of those things that I have generally had a more challenging time with before was pan searing scallops. They either didn’t sear well or came out over cooked. But, with the sous vide, it was pretty simple to sear and keep them well cooked. I made a lemon glaze to go with it and paired it with sautéed kale and crispy sweet potatoes for a perfectly easy and healthy meal.

DSC_2066

Ingredients

  • large scallops
  • 2 large lemons
  • Salt and Pepper
  • Red Chili flakes
  • 2 tbsp butter
  • 1 green onion, separating green and white part
  • 4 tbsp dry wine
  • 1/2 cup orange juice
  • 2 tsp honey

Directions

  • Heat water bath to 122ºF
  • Wash and dry scallops
  • Salt and pepper to taste and place them in the vacuum bag (~1lb/bag)
  • Place 2 lemon slices in the bag and seal
  • Place in water bath for 30 minutes
  • At this time, prepare the sauce by heating butter in a saucepan
  • Add the chopped white part of the green onion and chili flakes
  • remove the scallion and in another bowl combine orange juice and juice of a lemon to get 2/3 cup of liquid
  • When the scallops are done cooking, remove them from the bag and pat dry them
  • Sear in skillet over high heat with butter residue from sauce
  • remove the scallops and deglaze with dry wine
  • Add the orange and lemon juice mixture and zest of 1 lemon
  • stir in green onion and bring to a boil until glaze like consistency
  • Add honey if too sour/tart for your liking
  • Pour the sauce over the scallops and enjoy (or I placed the scallops on top of the sauce)

DSC_2059

Grilled Flank Steak Rolls

DSC_2536

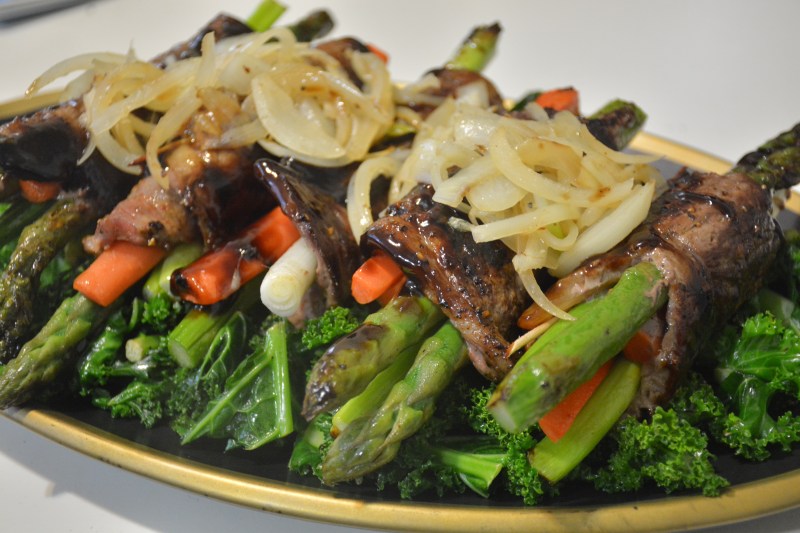
As I typed that title, I am not sure if I like it. It is fairly accurate to what this dish is, but something about it seems off. However, I cannot come up with anything better, so it is staying haha. This is a meal that I made on a whim and had no idea how it would turn out. I figured wrapping vegetables in meat can’t be bad, so I went for it and made a teriyaki sauce to go with it. Turns out it was pretty tasty, but I didn’t count for logistics and how to eat it, as it kind of fell apart as I cut into it. Still tasted good though!

Ingredients

  • Flank steak, pounded thin and cut into large strips
  • Salt and pepper
  • Carrots, peeled and cut into sticks
  • Asparagus
  • Green onions
  • 1/2 yellow onion, sliced
  • 1/2 cup Soy sauce
  • 2 tbsp honey
  • 2 tsp ground ginger
  • 3 tbsp rice vinegar
  • 2 tsp sesame oil
  • cornstarch
  • toothpicks

Directions

  • Salt and pepper the steak to taste
  • Blanch the carrots and asparagus in boiling water (~1-2 minutes)
  • Roll a carrot stick, asparagus stalk, and green onion in a flank steak strip and close with a toothpick
  • Do this with remaining steak strips and vegetables
  • On a grill pan (or grill, or large frying pan), cook the steak rolls (~2 min each side)
  • Let the steak rolls rest and grill onions
  • For the teriyaki sauce, in a small sauce pan, combine the soy sauce, honey, ginger, vinegar, and sesame oil on medium heat
  • Once combined and simmering, add mix of cornstarch and water to desired thickness
  • Brush the teriyaki sauce over the steak rolls and serve (I served over sautéed kale)

DSC_2540


Santa Maria Tri Tip Roast

DSC_2543

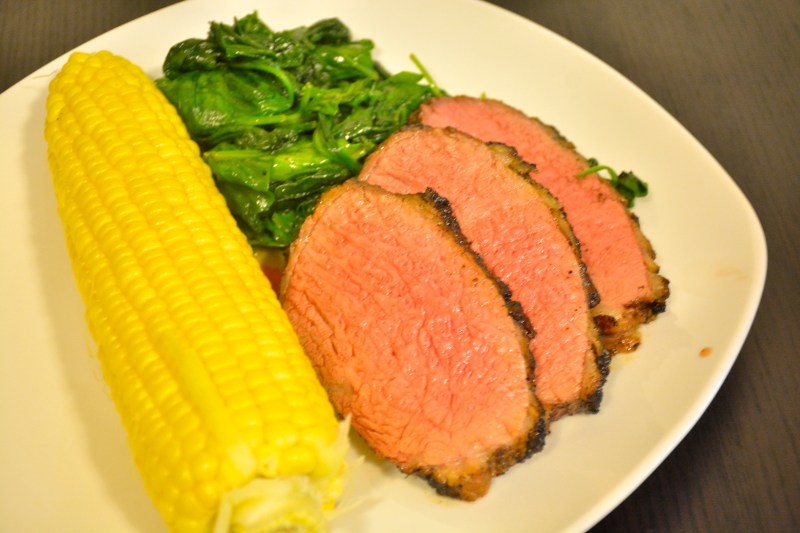
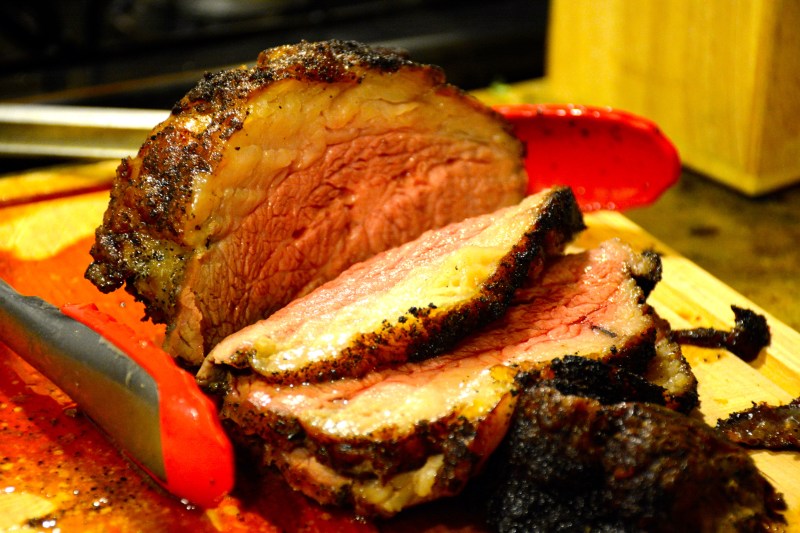
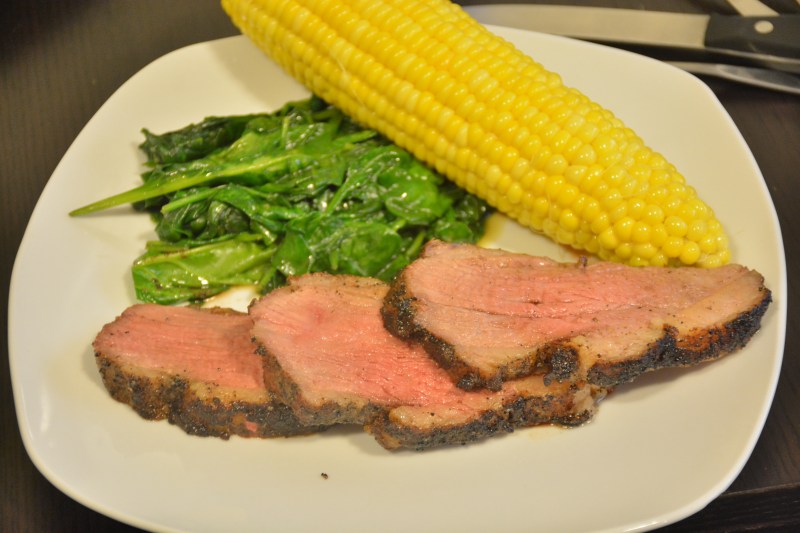
With it being summer and all, that means it’s time to break out the grills and barbecue some meats. Now if you are like me, there is really nothing I look forward to more than some grilled or roasted huge chunks of meat. I’ve always wanted a smoker and the whole works, but alas if you are also like me and live in an apartment, that is probably not happening. Not only do I not have a smoker, but I don’t even have a bbq grill 😦 . Alas, I had to use my oven. But worry not! This recipe actually turned out great in the oven and still felt like a summer que!

Ingredients:

  • 2-3 lb tri tip, trimmed, but still want a good layer of fat
  • 2 tbsp finely ground coffee
  • 1 ½ tbsp kosher salt
  • 1 ½ tbsp granulated garlic
  • tsp black pepper
  • 1 tbsp brown sugar
  • ¼ tsp cayenne pepper
  • ¼ tsp cinnamon

DSC_0034

Directions

  • Mix all the spices and sugar in a bag or bowl
  • Sprinkle the rub all over the meat and massage it into the meat
  • Cover and refrigerate for at least an hour
  • Remove from refrigerator an hour before cooking and let rest
  • Preheat oven to 350º
  • In a cast iron pan (or other oven proof pan) place a little oil over high heat
  • Sear the meat, fat side down, and then all sides (~3-4 min a side)
  • Place roast in the oven until internal temperature is 130º (~10 min per pound)
  • Pull roast out of the oven and let rest before serving

DSC_2549

Poached Cod

_DSC8391

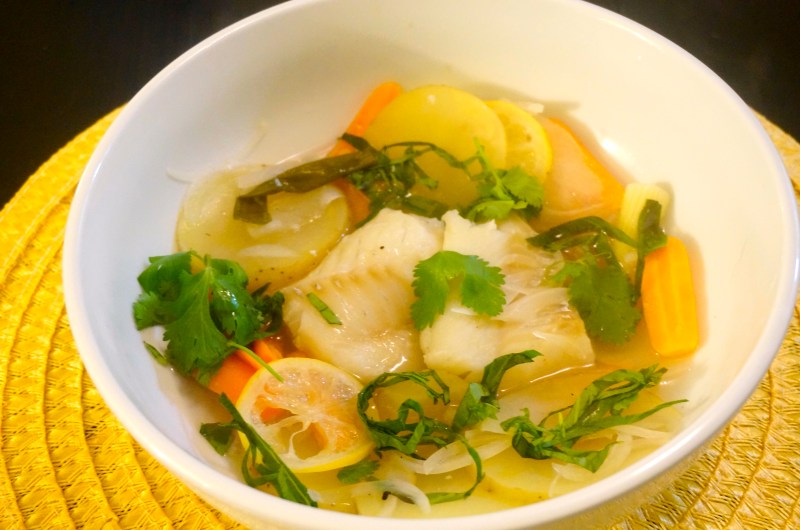
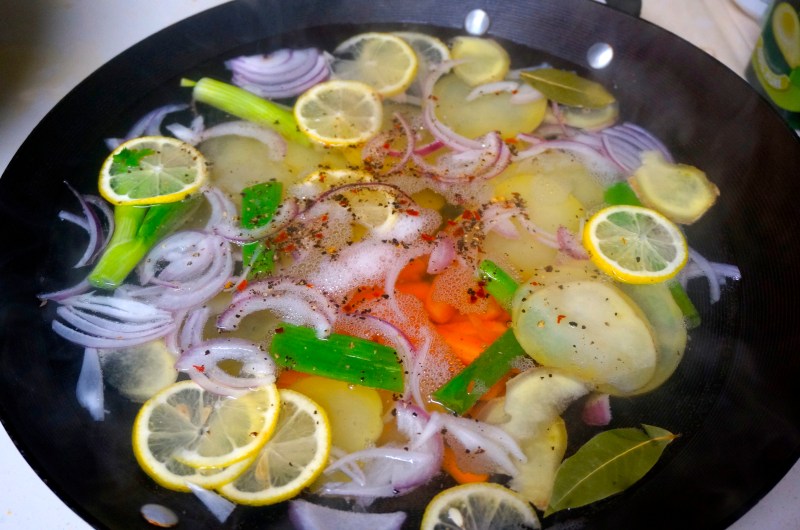
So I always hear that poaching fish is a good and easy way to cook it (ok not always hear, maybe like a few times). Of course when I looked it up, it didn’t seem that hard, and all in all I’d say that it isn’t. However, if I am going to be honest, while it looks pretty in the broth and all the veggies, I probably prefer to pan sear my fish and eat it slightly crispy.  Not everything we make can always be freaking awesome you know? sometimes you strike out, and this doesn’t even qualify as striking out. There was a lot of good flavor in the broth, but I just felt that the fish was kind of bland and lacking. Maybe if I get venturous again I will give this one another shot in the future, but for now, here it is. If you change it up and it comes out tasting great, please let me know what you did differently. I would like hear!

_DSC8379

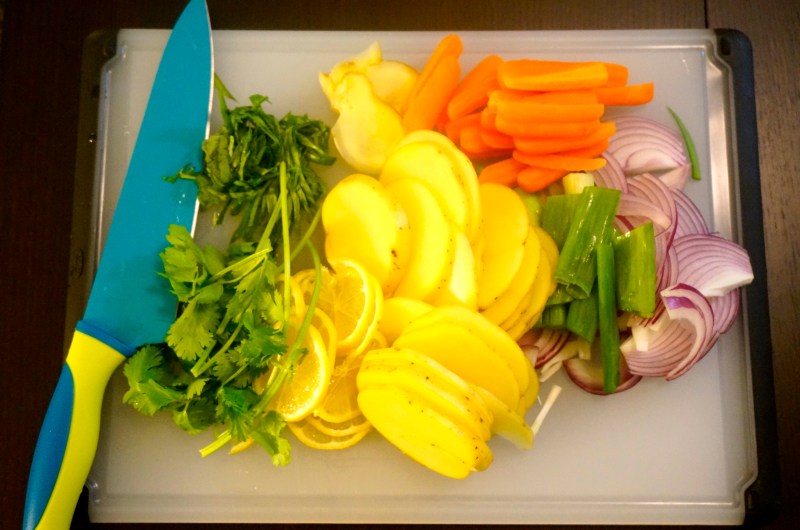
Ingredients:

  • 6 cups water
  • 1/4 cup dry white wine
  • potatoes, sliced
  • onions/shallots, sliced
  • carrot, sliced
  • 1/2 lemon sliced
  • salt and pepper
  • 4 cod filets
  • 2 bay leaves
  • parsley and/or cilantro

_DSC8383

Directions

  • Combine all ingredients other than the cod in a pot and bring to a boil on high heat
  • Reduce to a simmer on low heat
  • When liquid is lightly simmering, add cod filets, making sure to completely cover them in liquid
  • Poach until cod is opaque and flaky (~7min?)
  • Serve….so simple right?

_DSC8392

Sous Vide Pork Rack

DSC_2206

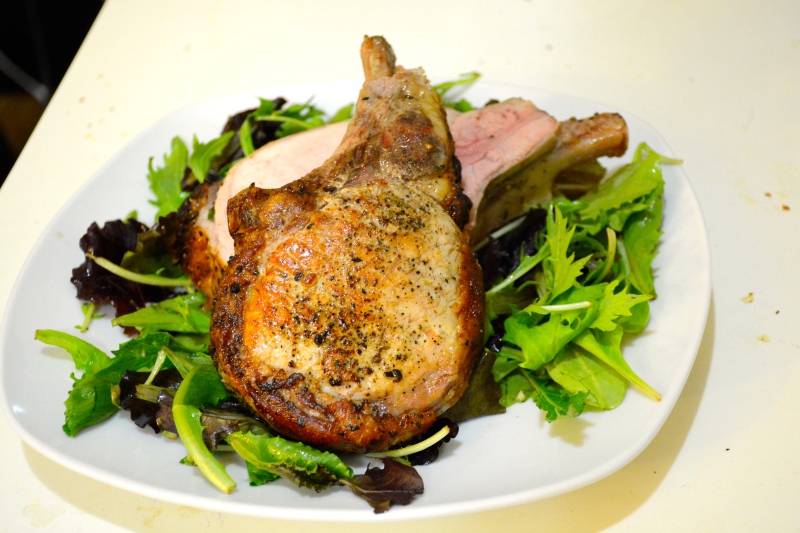
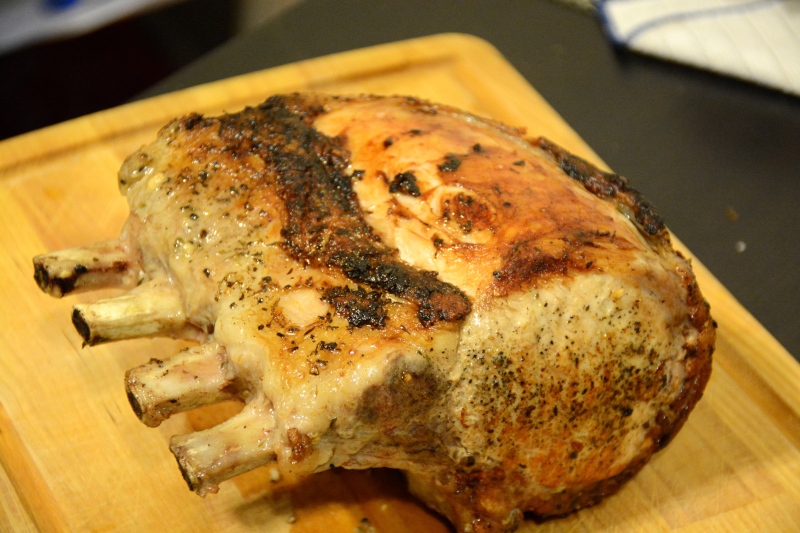
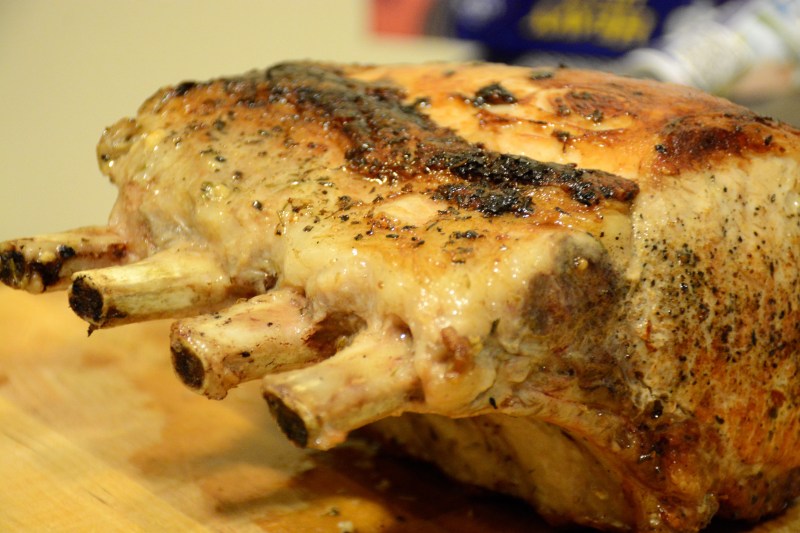
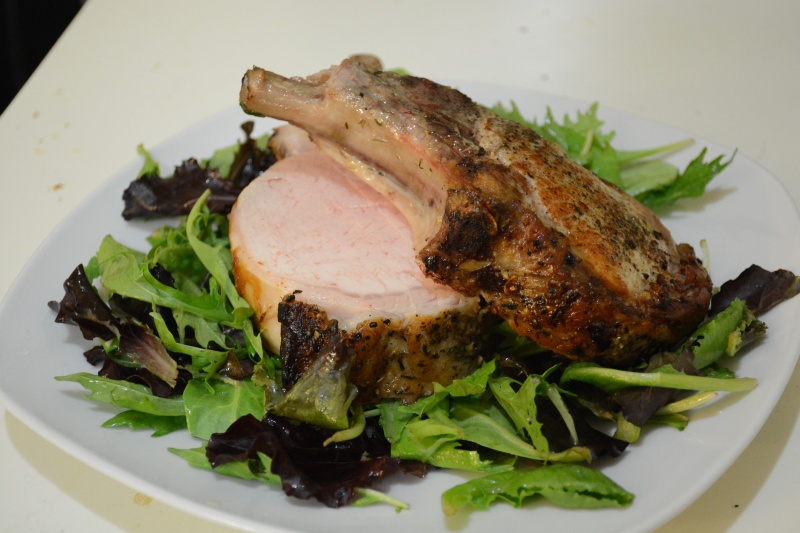
As you know I got a sous vide as a gift, and I have been trying my hardest to use it as often as I can. Now I know it can be time consuming, but man does stuff come out good. Gone are the days of roasting things in the oven or frying things in a pan and having it dry out. Sous Vide reminds me of those “Set it and Forget it” commercials from back in the day. So I decided to sous vide a 4 bone pork rack (originally came in a rack of 8 bones, but I cut it in half, because who the heck is going to eat 8…). I made this before by roasting in the oven and it came out great, but this one came out better in my opinion. Also this recipe is not from anywhere, or based on anything, but just me experimenting, so feel free to mess around obviously. But you can try both and let me know!

DSC_2194

Ingredients

  • Rack of pork
  • Kosher Salt and pepper
  • 1/4 tbsp of dried oregano, thyme, rosemary
  • Olive oil

DSC_2200

Directions

  • Set sous vide water bath to 143º F (or oven to 350º)
  • Rinse and dry pork rack
  • Salt and pepper the pork, and add herbs as well
  • Place the pork rack into the bag, add some olive oil, and seal (alternatively place in roasting pan and drizzle oil)
  • Place in water bath for 90 minutes (or oven for 1hour)
  • Remove from water bath, pat dry, and sear in skillet over high heat for ~2-3 minutes a side (may need a little oil in the skillet)
    • if using the oven, skip this step
  • Let the pork rest, cut, serve, and enjoy!

DSC_2209

Sous Vide Salmon

DSC_0051

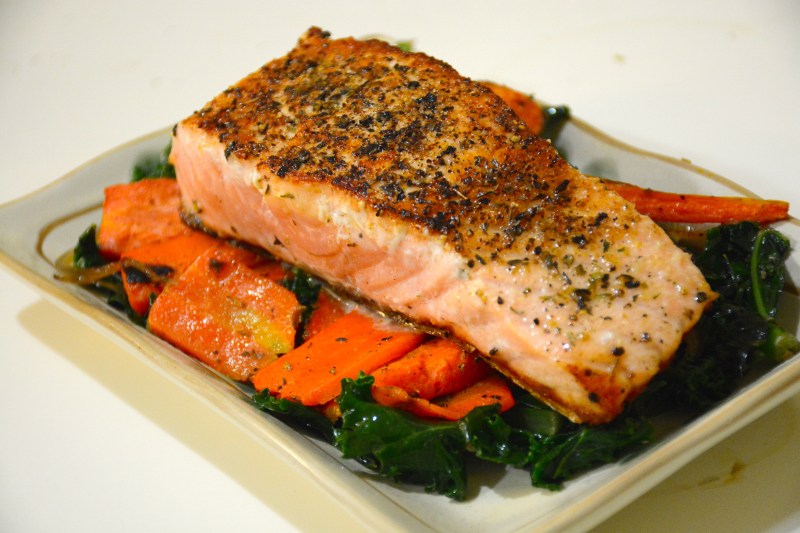
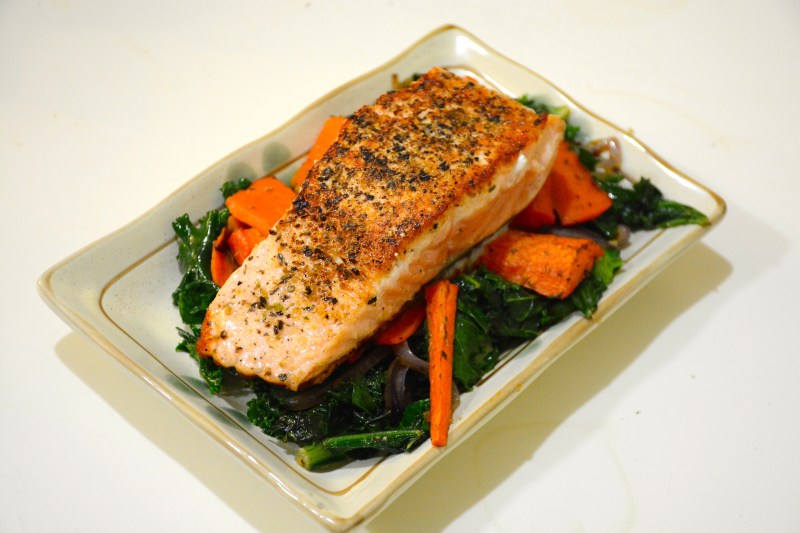
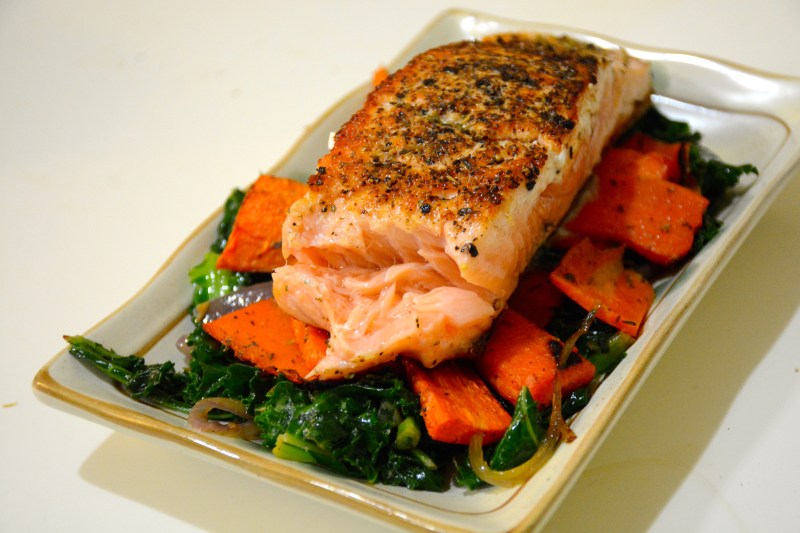
Hello everyone! Long time no talk/post. I recently got an immersion cooker/sous vide from Jenn. Thank you! I gotta say that it is pretty sweet. I mean it takes some amount of time to prep and wait, but I have not had a bad meal yet. In my ever lasting, but ultimately failed, quest to eat healthier, here is a recipe for a sous vide salmon I made with roasted carrots and sautéed kale (never thought I’d say that).

DSC_0053

Ingredients:

  • Salmon filets
  • Salt and pepper
  • Dried thyme, parsley
  • 2 tbsp Olive oil
  • Vegetable oil

Directions:

  • Salt and pepper the salmon filets
  • Season lightly with thyme and parsley to taste
  • Place salmon filets in ziploc bag or vacuum seal
  • Add olive oil to the bags and gently squeeze around so that the filet is fairly coated with the oil
  • Seal bag and place in water bath at 110° F for 30-45 minutes
  • Take the filets out of the bag and sear in pan with vegetable oil over med-high heat, skin side down until crisp (1-2 min)
  • Flip the filet and sear for another 30 seconds
  • Blot excess oil and serve with sides (roasted carrots and sautéed kale)

DSC_0055

Citrus Scallops and Quinoa Salad

_dsc8419

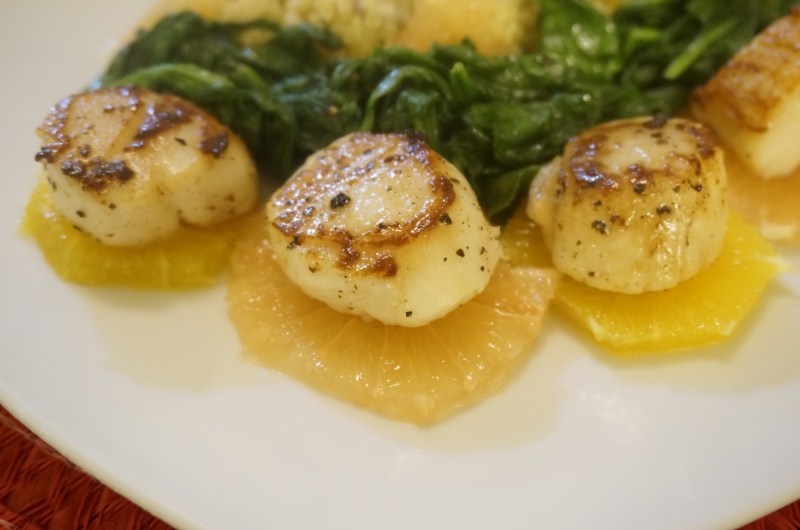
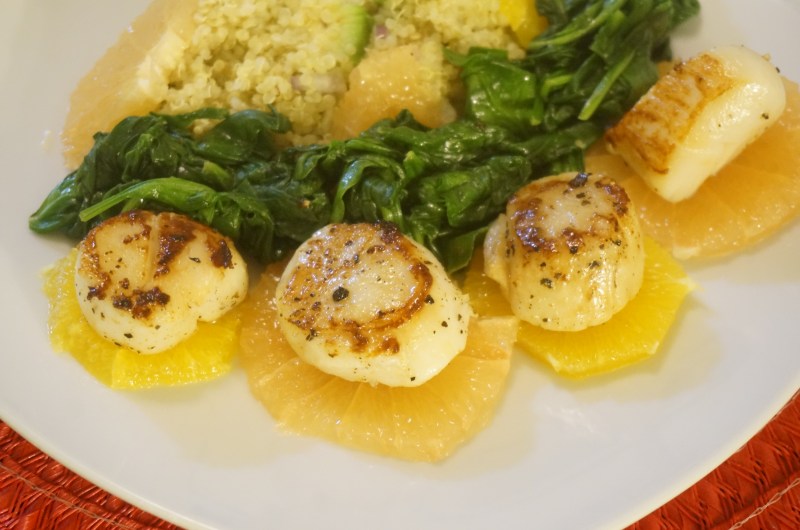
As I have been doing this blog (sparingly to be honest), it has made me venture into things that I normally would not eat or attempt. This is especially true in light of the fact that I am trying to eat healthier (venturing into baking isn’t awesome on your body when you live by yourself…). Thus my foray into the magical worlds of quinoa and kale (although there is no kale in this recipe). I bought some quinoa on a whim and decided to try and make it, but man is it boring. So I thought I’d try and spice it up a bit (or in this case, sweeten), by making it into more of a citrus salad. And because I need some kind of protein, I added some seared scallops to go along with it. The result was a really good, light meal that I did not feel guilty about eating. So give it a go and let me know how it turns out for you.

_dsc8415

Ingredients:

  • 1 cup quinoa, cooked to instructions
  • 1 lb large sea scallops, washed and dried
  • 1 grapefruit, cut into slices
  • 2 navel oranges, cut into slices
  • 1 large avocado, cut into cubes
  • 1/4 cup olive oil
  • 1 lemon, juiced
  • 1/8 cup honey
  • salt and pepper to taste

_dsc8421

Instructions

  • Cook quinoa to instructions
  • Mix the olive oil, lemon juice, honey, salt and pepper in a small bowl
  • Wash and pat dry the scallops, salt and pepper to taste
  • Sear the scallops in a large pan over med-high heat
  • Mix the quinoa and the dressing, using a fork to combine
  • Add the avocado, grapefruit, and oranges and mix again
  • Add the scallops and in my case sautéed spinach as well
  • Eat and not feel guilty!

Ferrero Rocher Cheesecake

img_2859

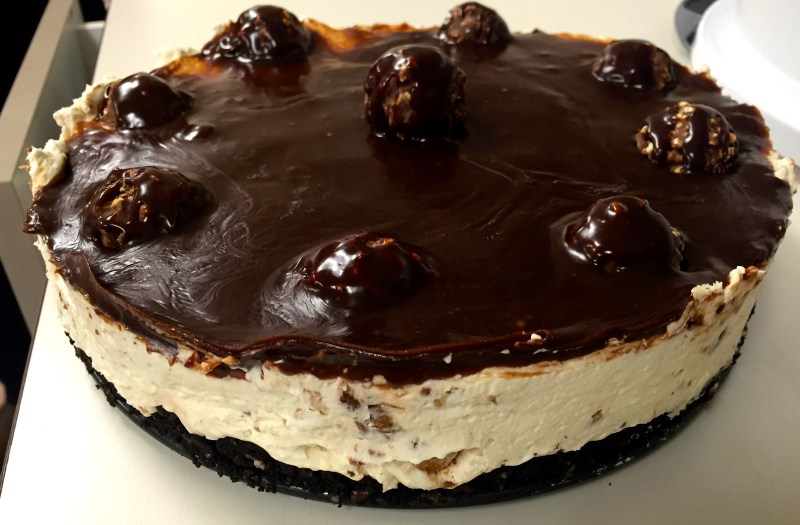
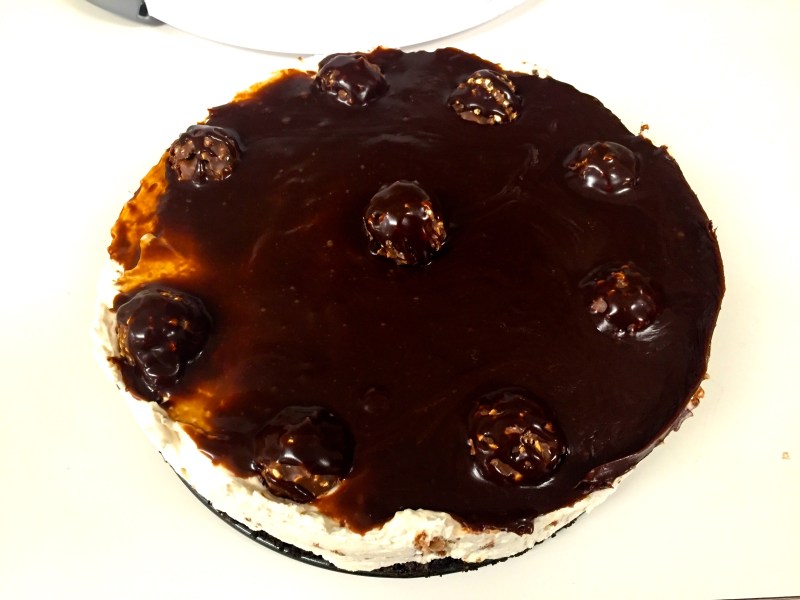
Now that the holidays are coming around, it is also time to start busting out the chocolates in case you haven’t already. You’ll see a lot of See’s chocolate boxes, but also a lot of Ferrero Rocher platters (or mountains if you’ve seen their most recent commercial). Ferrero Rochers are those hazelnut chocolate candies that nobody seems to dislike. So when thinking of a cheesecake, which I am a sucker for, what better thing to pair a hazelnut chocolate candy with than Nutella! This is also a no-bake cheesecake (well I guess that’s not true since you do bake the crust). But anyways, I found the recipe Ang Sarap, another blog, and I must say that it turned out pretty good. Although his was prettier…not going to lie.

Ingredients:

Crust
  • 2 cups crushed Oreos (I tried to scrape the frosting out (and eat it) as I found it made crushing them harder)
  • 3 tbsp unsalted butter, melted
Filling
  • ~16oz cream cheese, softened
  • ⅔ cup powdered sugar
  • 3 cups thickened cream or whipped cream, chilled
  • 4 tsp unflavored gelatin
  • 2 tbsp hot water
  • 6 pcs Ferrero Rocher, roughly chopped
Topping
  • 4 (ore more) tbsp Nutella
  • 3 tbsp milk
  • 2 tbsp powdered sugar
  • 8 pcs Ferrero Rocher
  • Chocolate shavings (optional)

Directions:

  1. Combine Oreos and melted butter, and press it in a 9 in pie pan, spread evenly and packed well
  2. Bake 350 degrees for 10 minutes
  3. Chill in fridge for around 20 minutes.
  4. Place softened cream cheese and sugar in a bowl together; mix with electric mixer until creamy.
  5. Dissolve gelatin in hot water then let it cool for a while. Add to the cream cheese mixture, continue to beat until mixture becomes fluffy.
  6. Add cream and 6 chopped Ferrero Rocher, then fold until it’s evenly mixed.
  7. Pour over the prepared crust.
  8. Top it with the Ferrero Rocher and chocolate shavings. Refrigerate for at least 6 hours
  9. Using a double boiler, mix the Nutella, powdered sugar and milk until runny (you may need to add more milk)
  10. Drizzle melted Nutella on top then serve
  11. Enjoy this wonderful dessert!

img_2857

Lemon Chicken Skewers

_dsc8374

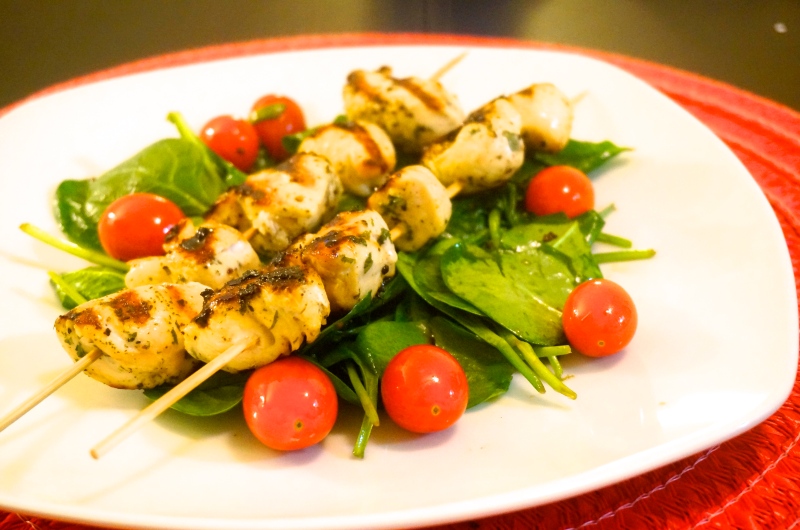
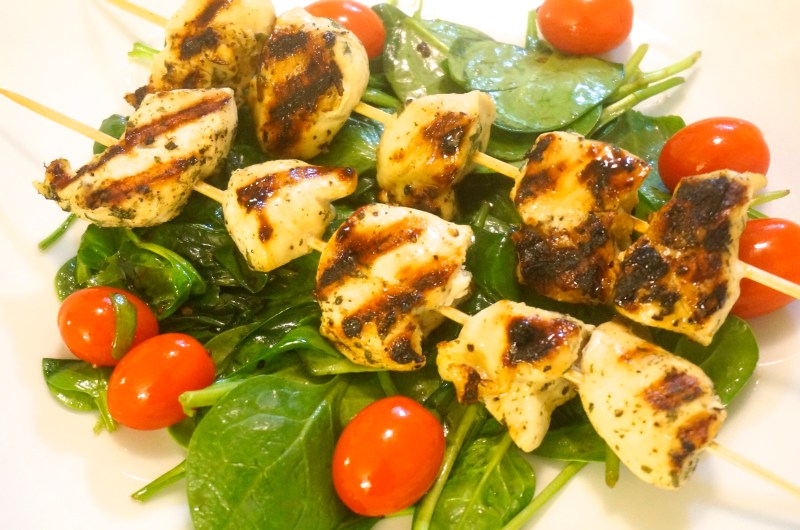
Today’s dish is a super simple and easy one. It is a product of being basically broke and wanting to eat healthier. I don’t think I realized that when I started all this, how expensive eating healthy can be. These skewers don’t require a lot of time, money, or preparation though, which is definitely a plus. You can make them if you are in a pinch, like me, and have little money AND little time to cook anymore. I find myself coming home from work super late and exhausted – making the prospect of cooking a daunting task. Fear not, just prep these the night before and pop em on the grill/grill pan and you are ready to go!

Ingredients

  • 2 chicken breasts, cut into large cubes
  • Ground pepper
  • Salt
  • 1 garlic clove, minced (or garlic powder)
  • Parsley, finely minced
  • 1 large lemon, juiced
  • Spinach
  • Cherry tomatoes

Directions

  • Season the chicken cubes with pepper, salt, garlic, and parsley
  • Place in a bag with lemon juice for 1 hour – overnight
  • Place chicken cubes on a skewer and grill until cooked
  • At the same time, lightly wilt some spinach with EVOO in a pan and add the cherry tomatoes and cook for a few minutes
  • Place the skewers over the bed of spinach and tomatoes and enjoy your gluten free, high protein meal!

_dsc8368